Opening Amazon Seller Account
Introduction
The seasoned entrepreneur, has unveiled the secrets to opening Amazon seller account. This comprehensive guide is your key to stepping into the world of Amazon selling with confidence and expertise.
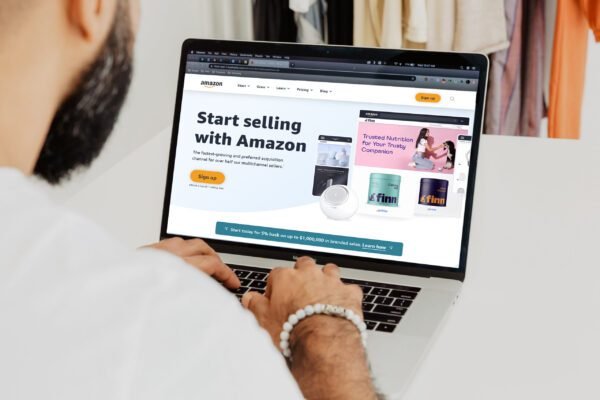
Accessing Amazon Seller Central
To embark on this journey, head over to cell.amazon.com, the gateway to opening Amazon Seller Central. Once you’re there, click on the sign-up button, marking the inception of your e-commerce venture. At this juncture, you’ll encounter a pivotal decision: choosing between an individual and a professional account. For those venturing into private label FBA, the professional account is the recommended choice. It offers higher item limits and unlocks access to invaluable advertising tools that can set you on the path to success.
Opening Amazon Seller Account
Every great journey begins with a single step, and in this case, it’s as simple as using a business email for registration. Ensure you have all necessary documents at your fingertips: a valid ID, bank statement, credit card, and a mobile phone. These essentials will streamline the process and ensure a seamless transition into the Amazon seller community.
Business Details for Opening Amazon Seller Account
Accuracy is paramount when it comes to providing business information. Your details should align precisely with what’s registered at Companies House. This not only establishes trust but also ensures that your brand is presented in the best possible light.
Individual Seller Information
As you progress through the registration process, you’ll be prompted to enter personal details such as your citizenship, place of birth, and the type of ID you’re using (be it a driver’s license or passport). It’s crucial to confirm both ownership and representation of the business at this stage. This step solidifies your position as a legitimate and trustworthy seller on the Amazon platform.
Payment Details for Opening Amazon Seller Account
The financial foundation of your seller account lies in your payment information. Utilize a dedicated business account for this purpose, reinforcing the professionalism of your operation. Take note of the subscription fee associated with professional selling—it’s an investment that will pay dividends in the long run.
Setting Up Store Name for Opening Amazon Seller Account
Your store name is your brand’s first impression on potential customers. It’s worth noting that this can differ from your brand name. Be prepared to answer questions about product codes and brand ownership, ensuring that your store is a reflection of your unique identity.
Verification Process for Opening Amazon Seller Account
To fortify the security and integrity of the platform, Amazon requires you to undergo a verification process. This involves uploading clear photos of the front and back of your chosen ID (whether it’s a driving license or passport). Additionally, provide a recent bank statement for further validation.
Identity Verification Call for Opening Amazon Seller Account
In some cases, Amazon may request a video call to conduct additional verification. During this call, hold your ID next to yourself, show it up close, and even bend it to prove its authenticity. This meticulous process ensures that only genuine sellers gain access to the Amazon marketplace.
Final Steps
With the verification process complete, Amazon’s team will review the submitted documents. You can expect confirmation within 2-3 days, marking the culmination of your journey towards becoming a certified Amazon seller.
F.A.Q. Amazon Seller Account Registration and setup
What is the difference between Individual and Professional selling plans?
In the professional selling plan, you pay a monthly subscription fee $39.99.
With individual seller account you will not have to pay a monthly subscription fee but you will have to pay an additional $0.99 per-item fee when an item sells.
The benefits of the professional selling plan are that you don’t pay a per-item fee when an item sells and have access to additional Amazon selling features and functionality.
You can always upgrade or downgrade your selling plan.
-
Go to your Seller Account.
-
On the Settings link, click “Account Info”.
-
In the Selling Plan section, click the “Modify Plan” button.
-
Click the “Upgrade” button.
-
Review the information on the next page.
-
Click the “Proceed to Upgrade” button to accept the terms and switch your plan.
Read our full guide: How To Discover Trending Products for Amazon Sellers in 2024 by using Google Trends: Unveiling Profitable Opportunities Amidst the Competition

